I’ve had a lot of interest in the Blessing Blankets I’ve been making for my grandchildren. You can see the how-to post with instructions and a few photos, and then the follow-up post with more photos, such as this one:
![]()
Today I finally finished my most recent granddaughter’s blanket, and I hope to work very soon on the most recent arrival, another grandson (grandbaby #23, who is now a month old — Grandma is getting slack!).
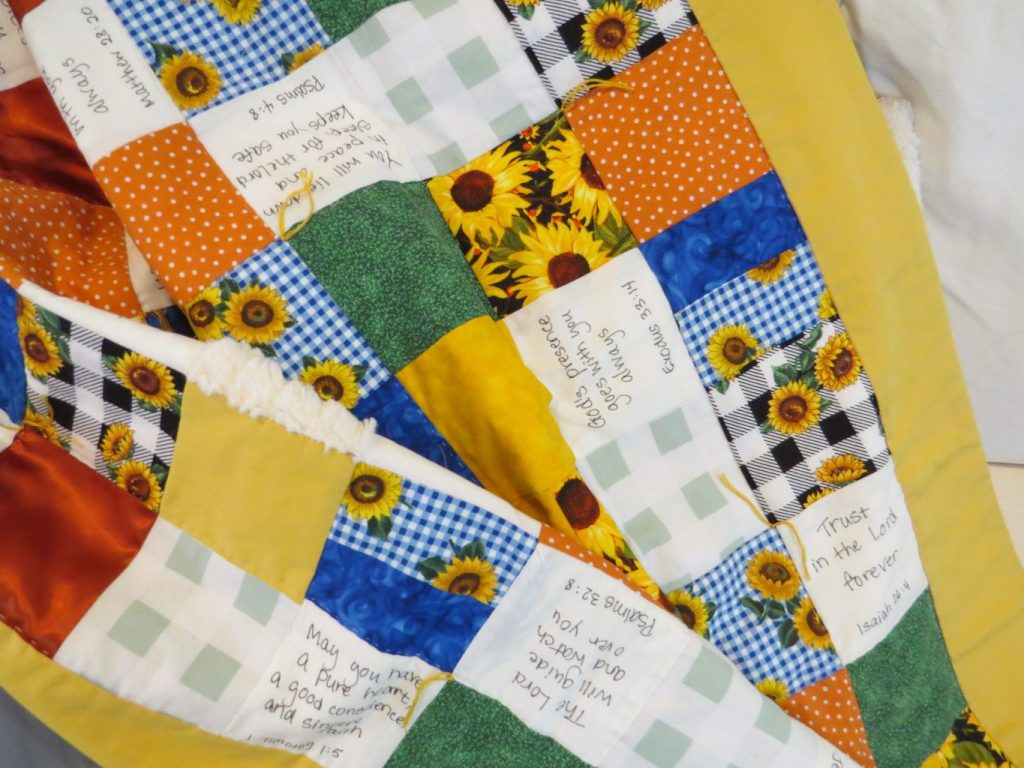
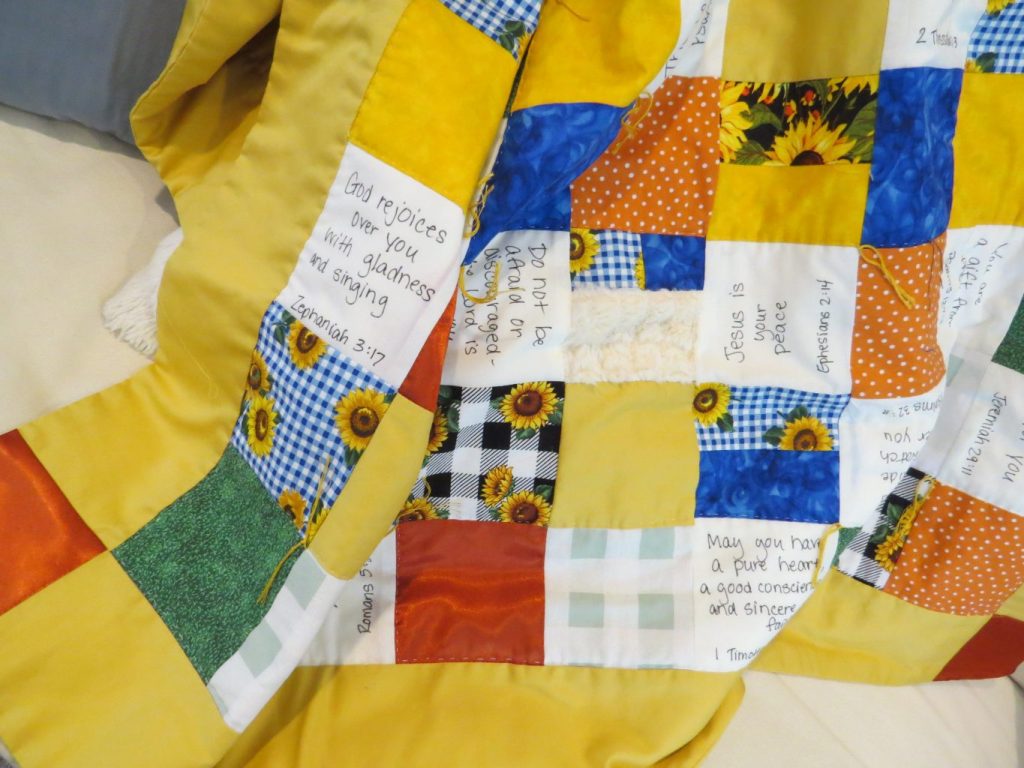
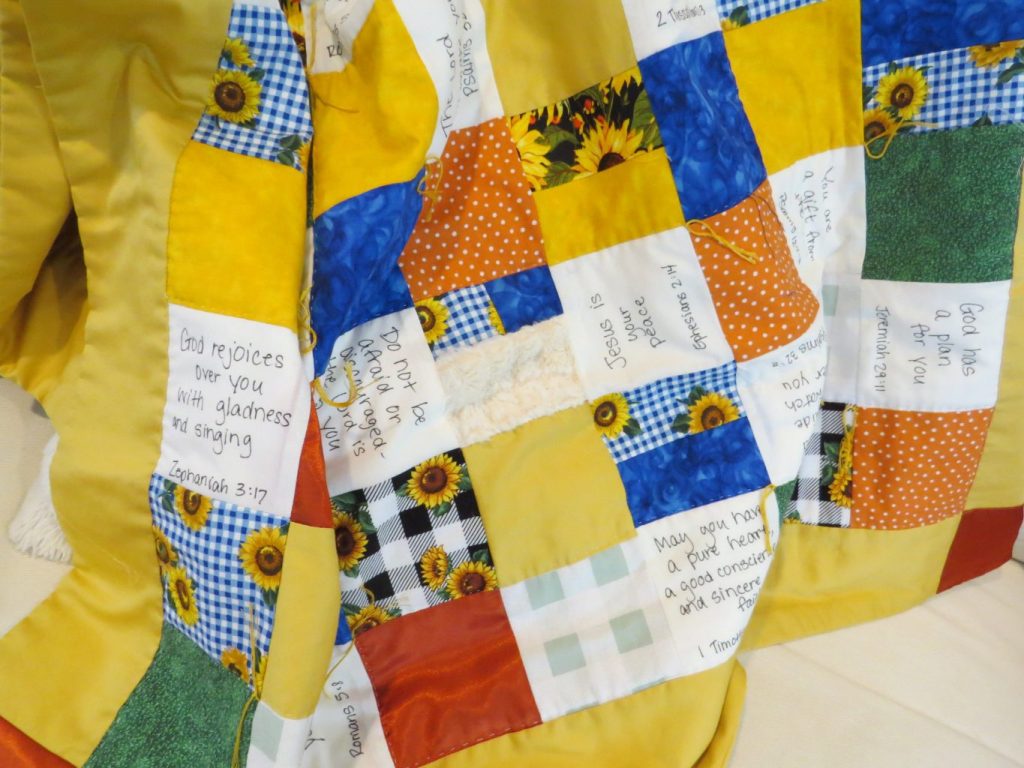
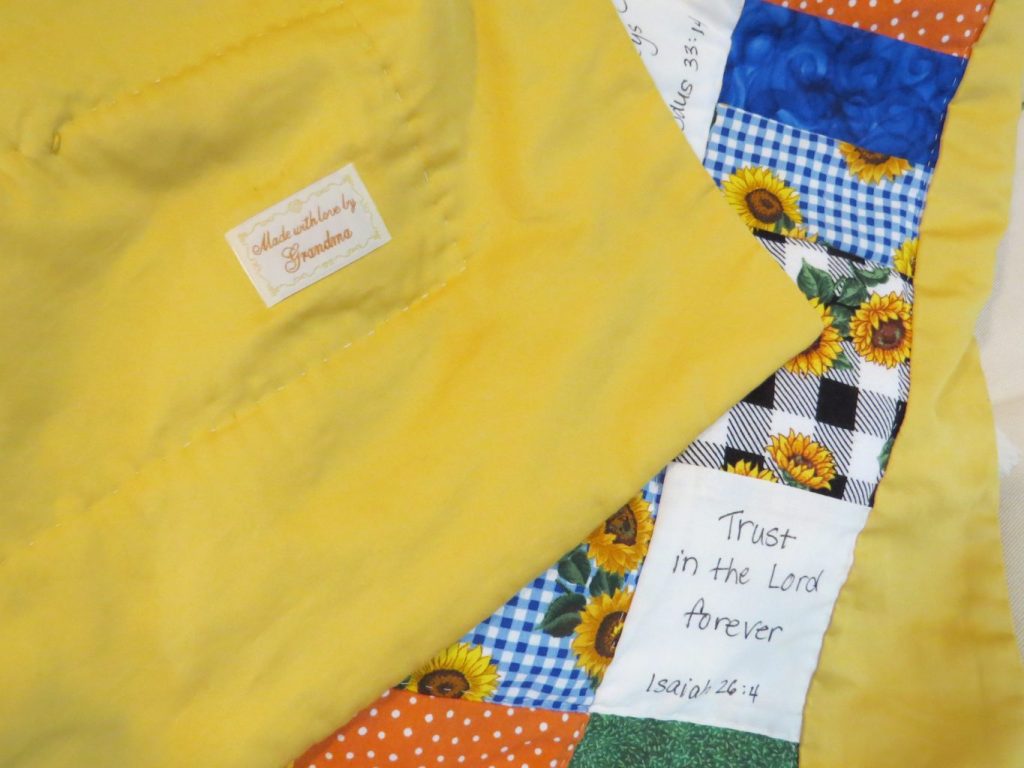
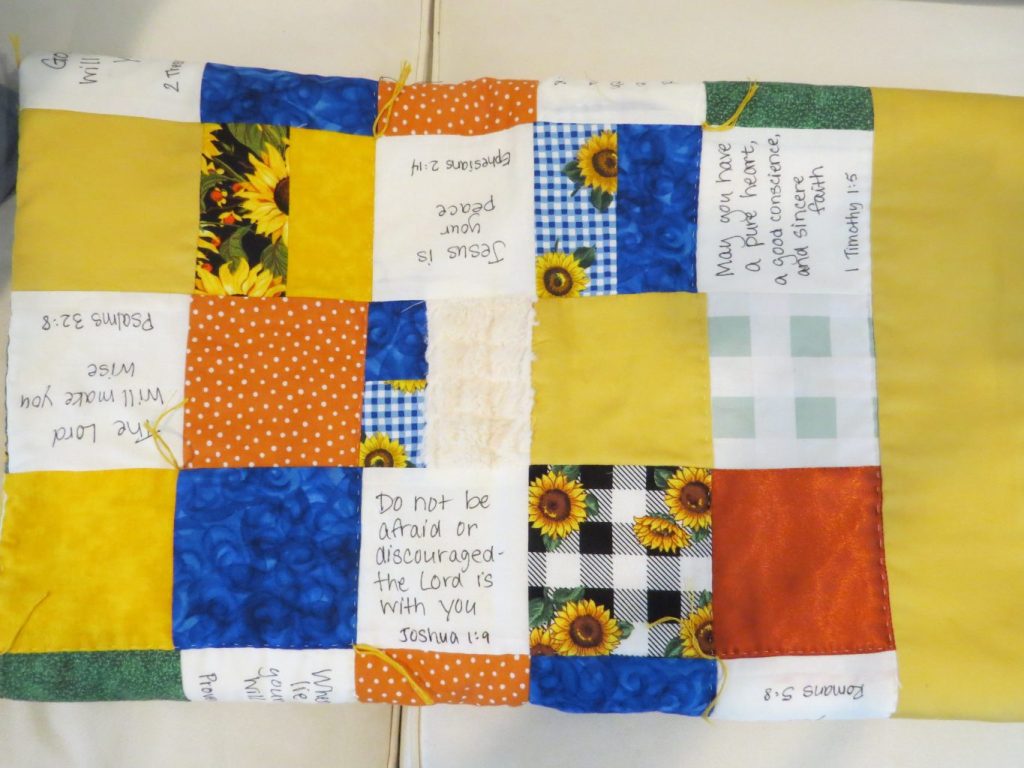
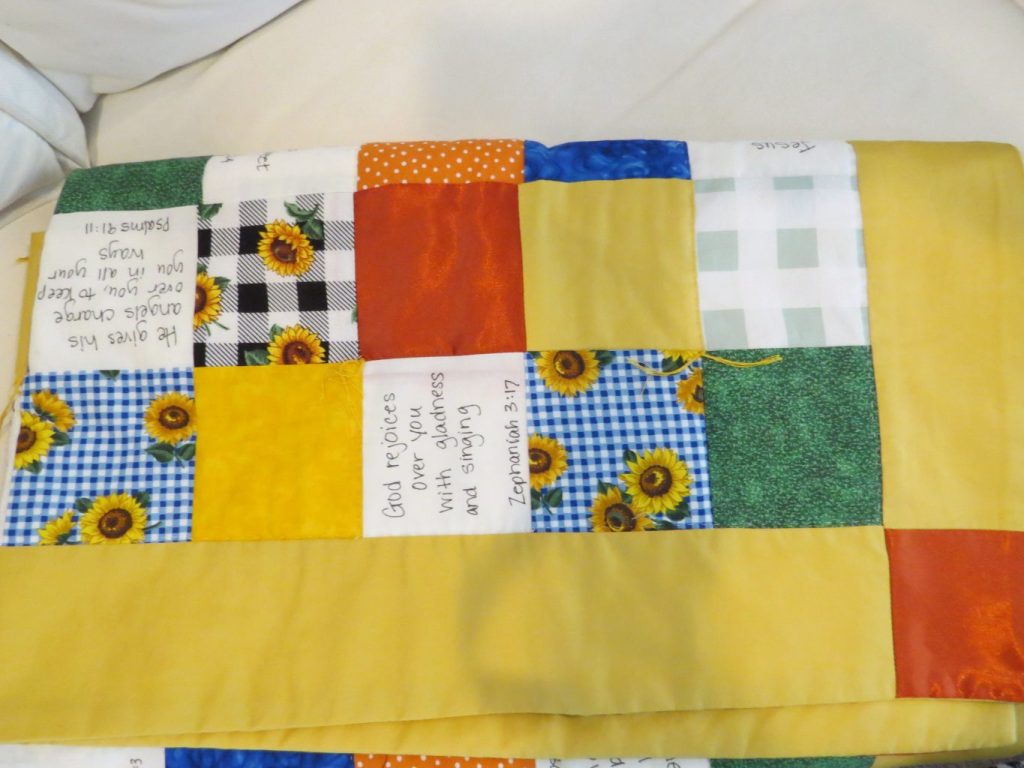
Here are a few photos of Shoshannah’s blanket in progress… (The lighting isn’t very good; it’s actually a little pinker in real life than it looks here.)

Adding the verses….

After pinning the quilt “sandwich” of top, batting, and back…


Pinned for hand quilting….


See the original “how to make the blankets” tutorial post
UPDATE on markers: Here are a variety of fabric markers after multiple washings, including a final wash in hot water and an enzyme based detergent:
 The Medium Point Tee Marker held up the best but is a bold marker, not great for this purpose. The Missouri Star Marker (fine) and the Pentel Fabric Gel Roller both seemed to hold up best while keeping crisper lines and being easier to use on fabric without catching.
UPDATED 6/24/2026….
Finally finished Ellen’s blanket for her 1st birthday, in colors/patterns of her mom’s choosing. I used the Pentel Fabric Gel Roller marker for the lettering. The border and backing are cut from a soft cotton Ikea sheet.


9 thoughts on “Blessing Blankets – Yet Another Update”
So beautiful…the quilt and the grand daughters. What a wonderful idea!
Thanks!
Thank you.
I’m wondering if you could iron on transfer the verses? Maybe the ink would last longer?
Tailor makes colorfast fabric sheets for inkjet printers. You could get four 4.25 inch squares per sheet. I have had good luck making photo squares for Memory Quilts with it. Also type scripture and messages for the signature square with good results. Tulip Rainbow Fabric Markers were used on my last Blessing Blanket with good results. Friends are each writing their message and signing the back of the blanket.
Thanks, Laura! Great to know! (And I’d love to see your quilt–maybe you could post a photo on FB at Everyday Homemaking!)
I’m not sure — I actually toyed with the idea of having the verses printed on fabric so I could cut them out!