
UPDATE: This post was specifically for my sourdough journey, but I’ve also started making NON-sourdough English muffins. That recipe is also in my cookbook, Everyday Cooking, but you can still read through this recipe for the basics of how to actually shape, cook, etc.
_____________________________________________________
I’ve gotten on a sourdough English muffins kick. Do you ever do that? Make the same thing for while? Maybe it’s just me….I guess in the stress of the quarantine/pandemic/life in general, I find the whole process therapeutic and satisfying.
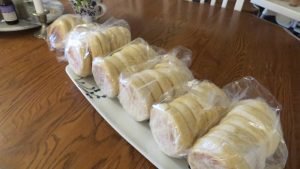
So, friends and neighbors have gotten the overflow from this week, and I’ve got a stash in the freezer, and I still have this:

My starter has been viable since January, when I started on this whole sourdough thing. (You can read my sourdough journey in a few earlier posts.) The recipe I used is from the King Arthur site, so please click over there to grab the recipe. The only main tweaks I made are:
1. I found that 7 cups of flour is too much in my kitchen on most days; I start at 5 cups and add till the dough is cleaning the bowl sides. Your flour amount will vary because of the humidity in your kitchen, brand of flour, etc. (It didn’t even occur to me, until I am now typing, that I could have weighed the flour, per the option in the recipe—so, if you weigh your flour, you’re good to go!) I feed my starter with whole grain flour, so it has a whole grain component; next time, I will try adding some freshly milled whole grain flour to the dough, along with part all-purpose.
2. I reduced the added yeast. You can use discard starter, but I prefer to use ripe (fed) starter because of the strength, and I then reduce the yeast in the recipe to just half a teaspoon. I’ll get brave soon and try with no added yeast, but right now, I’m just enjoying eating, not experimenting. (Feel feel to experiment and comment below!)

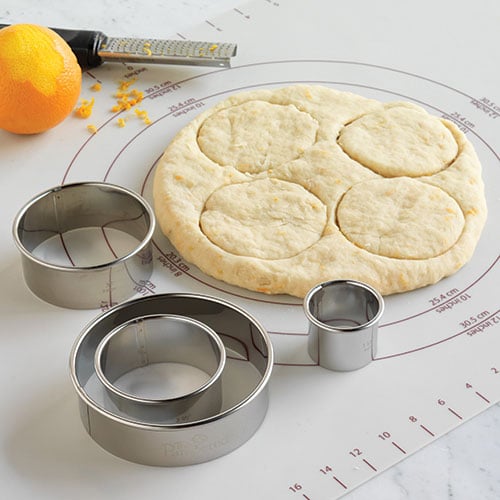
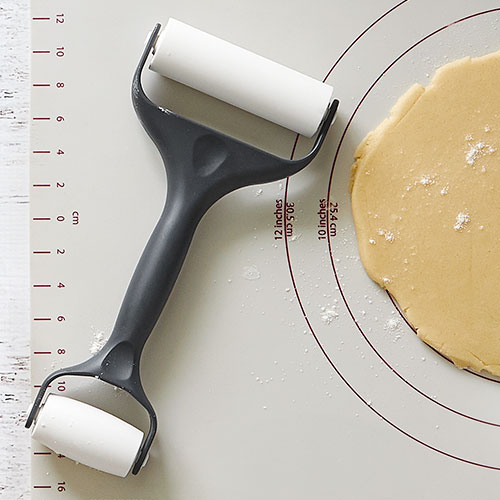
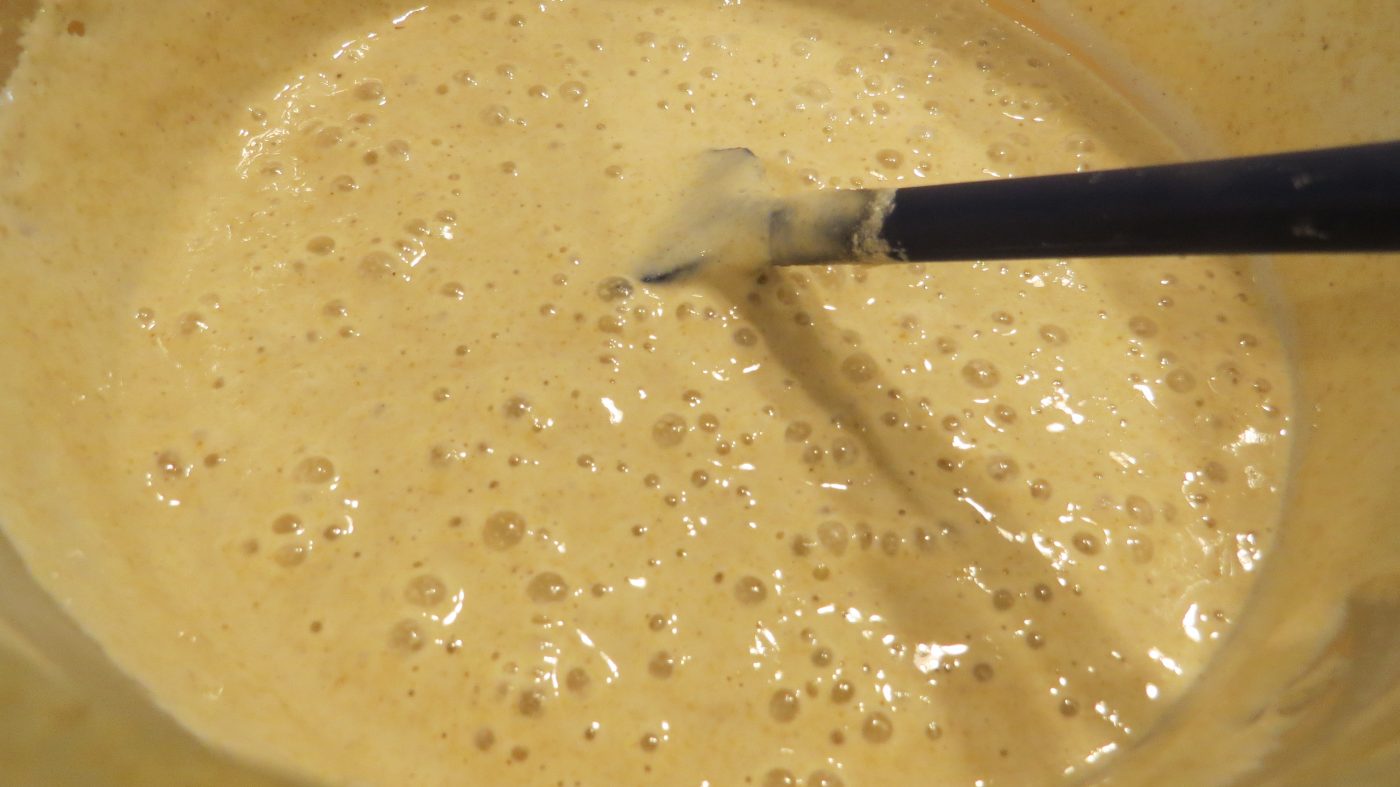
Other than that, I pretty much followed the King Arthur recipe. I patted the dough onto a floured counter and let it rest about 10 minutes or so, to relax the dough. (If you roll it and it keeps resisting rolling out and instead shrinks back, it needs to relax.)
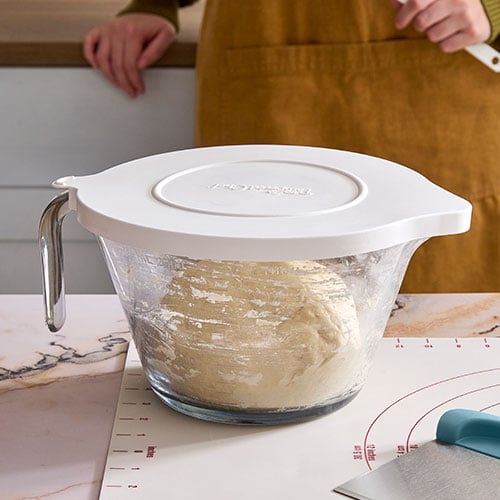
Making the dough itself took about 8 minutes total, including mixing and kneading. Letting it rise was the most time-consuming, but I can walk away and do other things, so it’s not inconvenient. You can let the dough rise in the refrigerator overnight or up to 24 hours for a more pronounced sourdough flavor. We like mild so I just let it rise on the counter till doubled, about an hour. Or till I get off the phone and find it’s almost overflowing off the counter.

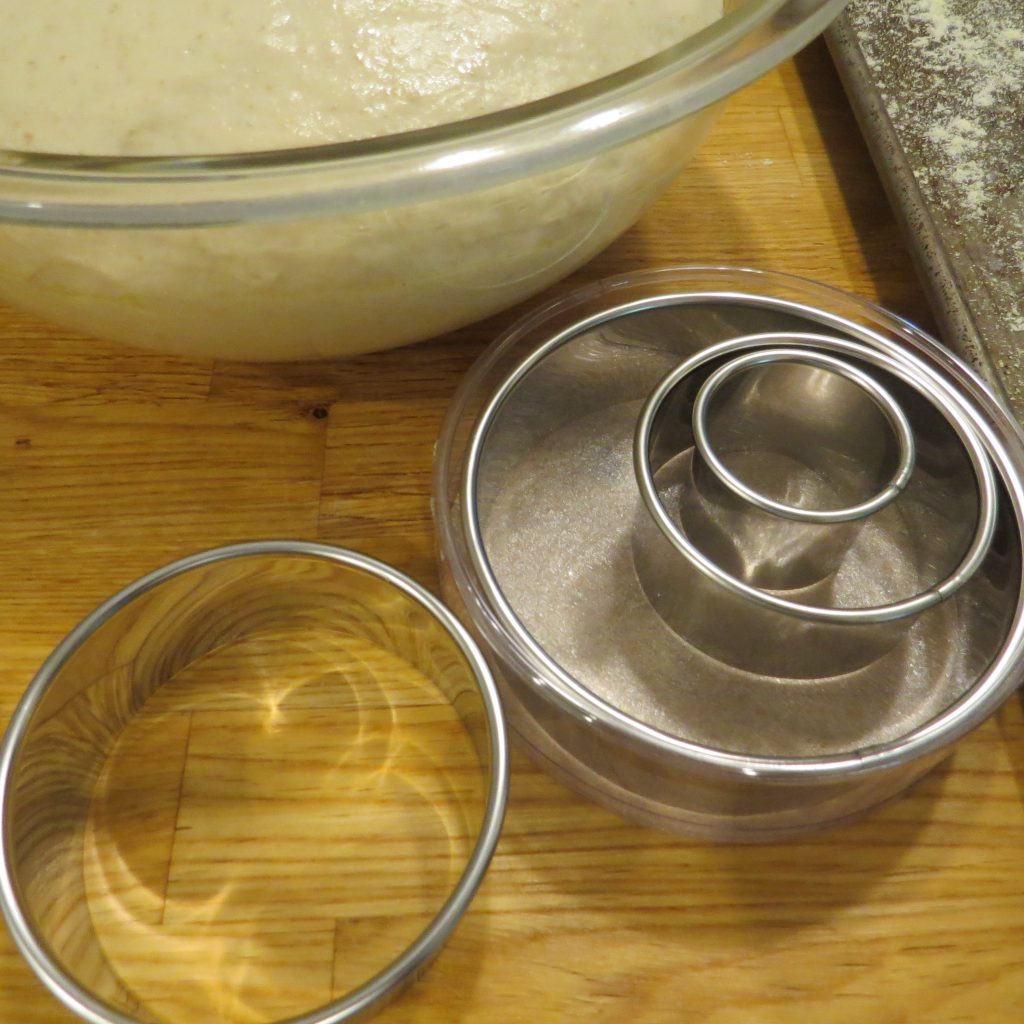
I cut the rounds out with a Pampered Chef biscuit cutter — the 3-inch one–and set them on a cornmeal-dusted counter (or a silicone baking mat or cookie sheet, for easier cleanup), then dusted the tops with a bit more cornmeal and let puff up about 30 minutes. I mill my own cornmeal with my stone-burr mill; I use a Komo Classic, but a MockMill would be a great alternative. (If you need a mill or a mixer, I can hook you up! )
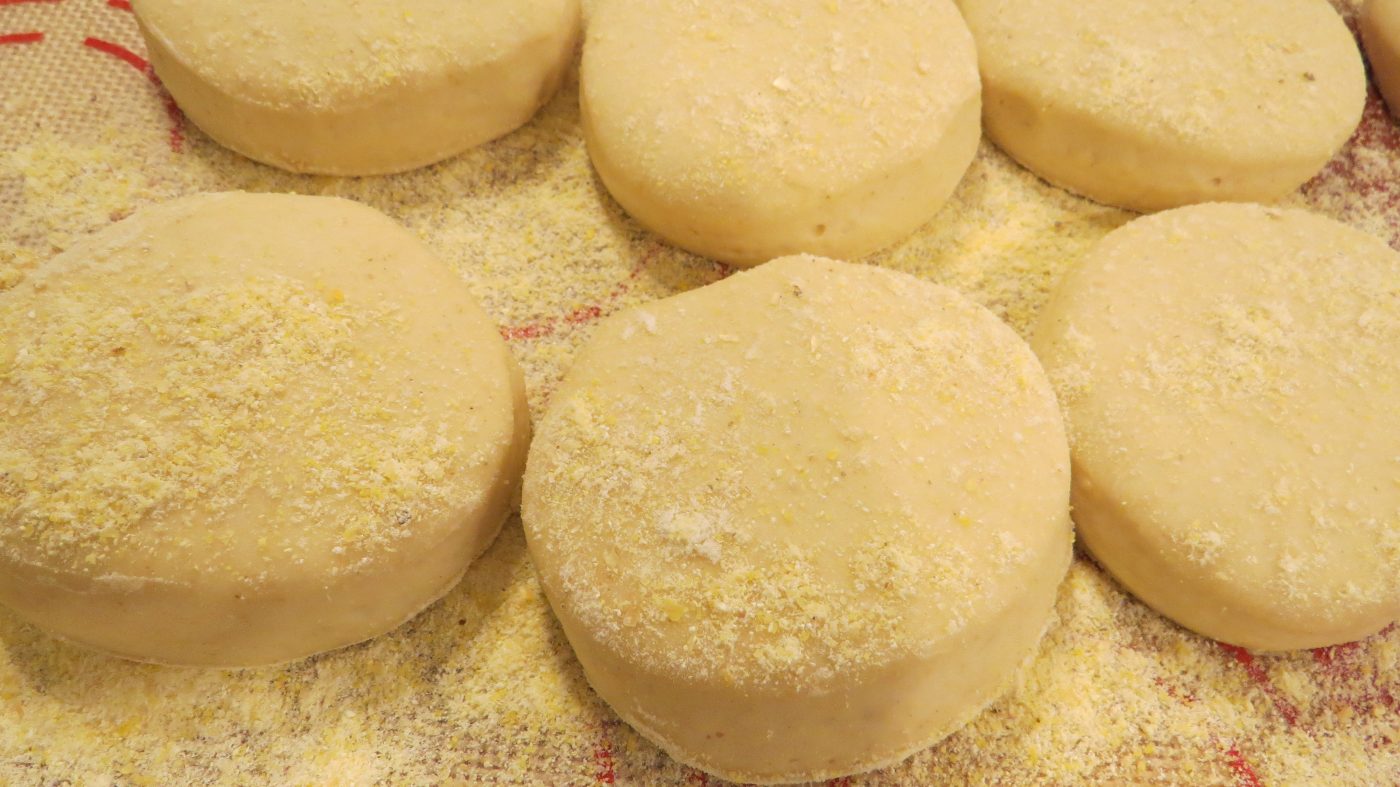
I cooked mine in a dry electric skillet heated to just under 350. (Well, mostly dry—when I started it, I gave it a quick, very light brush of a lecithin-and-oil mixture to maintain non-stick; didn’t reapply. For more info on that, see Everyday Cooking.) They cooked about 5-6 minutes on each side (I’m not a good judge of time) ; I just checked for golden-ness and flipped.
To check for doneness: An instant-read thermometer inserted into the side, to the center, should read 190+. Then remove to a rack to cool. They will store for several days in an airtight container, or you can freeze them. I got 30-32ish from mine. (You can also cut them into squares from the rolled dough –instead of rounds– and make sandwich muffins that are slightly bigger; this will obviously affect your yield.) And of course, clean-up was easy-peasy with my Norwex mesh dish cloth and my Norwex kitchen cloth!

Here’s my process in pictures…
(I’m sorry about the variety of photo sizes in the gallery. I took these over the course of a few different batches and must have reset my camera settings somehow when I did video between. My apologies to the concrete-sequential or type A or OCD folks. Click on photo to expand it.)


A few resources you might like:
(Affiliate links–you pay the same price, I make a teeny bit. Win-win, and I can keep posting articles and videos!)
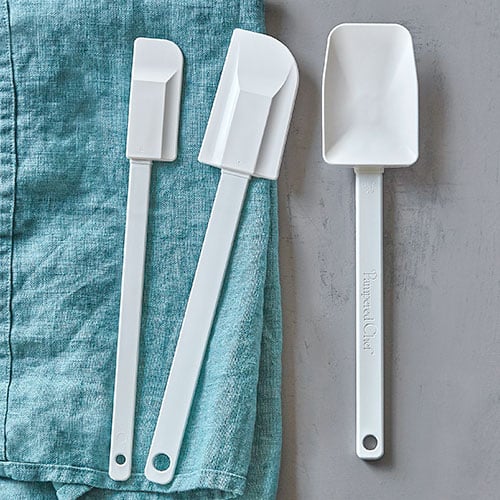
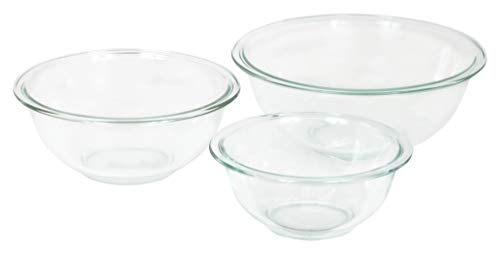
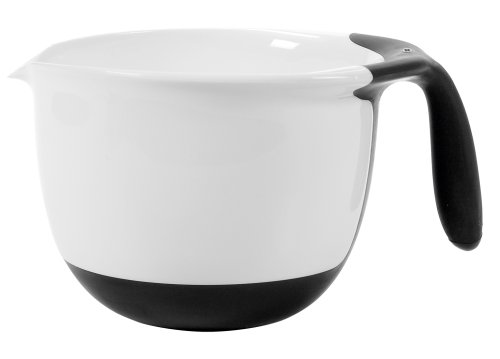
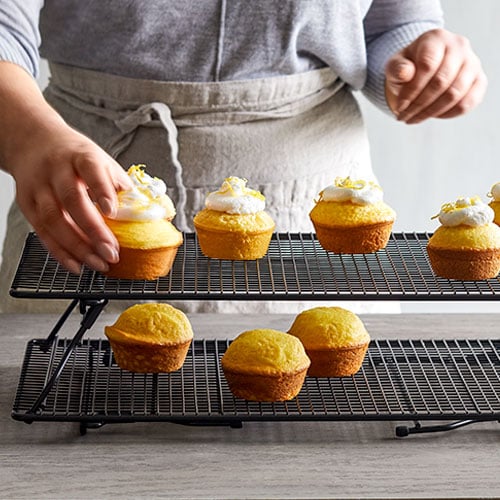
Biscuit Cutters – Pampered Chef Baker’s Roller – Pampered ChefClassic Batter Bowl – Pampered ChefDish Cloth – NorwexKitchen Cloth & Towel – NorwexBamboo Sppon Set – PCScraper-spatula PCPyrex Glass Mixing Bowl Set (3-Piece Set, Nesting, Microwave and Dishwasher Safe)OXO Good Grips Batter BowlNorpro 1017 Grip-EZ Mixing Bowl, 4 quart, YellowBosch MUM6N10UC Universal Plus Stand Mixer, 800 watt, 6.5-QuartsNutriMill Artiste Kitchen Stand Mixer (Black Trim)Rozotti Silicone Baking Mat Bundle (6-Piece Set) 2 Half Sheets Silicone Baking Mat and 2 Quarter Sheets Silicone Baking Mat, Silicone Baking Brush, Silicone Baking Spatula | Non-Stick, Heat-ResistantMMmat Silicone Baking Mats – Best German Silicone, Set of 3Le Parfait Familia Wiss Terrine – 1L Wide Mouth French Glass Mason Jar w/ 2-Piece Gold Lid, 32oz/Quart (Pack of 4) dia.110mmSuper Kitchen Extra Large Multipurpose Silicone Nonstick Baking Mat, Pastry Mat, Heat Resistant Nonskid Table Mat, Countertop Protector, 23.4” By 15.6”(Cool Gray)Last Confection Silicone Baking Mat – Set of 2 Non-Stick Quarter Sheet (8-1/2Stackable Cooling Racks – PCEveryday Cooking


